| Making of Freak I was asked how I went along making freak, or at least the lower part of the series. The yellow/orangie area. So here we go again. First off, doing grunge artwork is a world of its own...you can break rules, be yourself and go to the limit (at least thats what I do). So dont hesitate to experiment. The first thing (if you dont already have it) is
making a stock gallery, with photos you have taken. It doesnt
really matter if the photo is arty or not, just put them all in
there. Even you screw up a photo or you think its bad, place it
into your stock gallery, a bad photo can always be used in grunge
pieces.
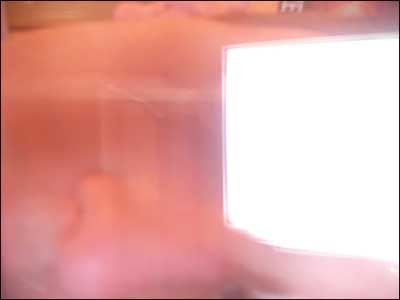
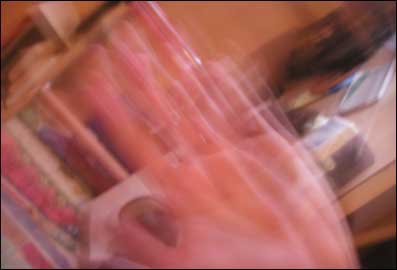
Other things included simple taking a photo of you(friend, someone) moving around, or just take a photo moving your hand. Which brings our another interesting effect.
As said at the beginning of the tutorial, you really have to
experiment, and push yourself to the limits. So far we have 3 interesting shoots, (again dont worry if the photo doesnt look "great", you might be able to incorparate it, into one of your designs) Taking this thing a bit further now. Lets overlay photo2 and photo3 and apply various "layer" effects to them. In most cases this gives a very nice touch to grunge pieces.
In the 2nd piece I did a Motion Blur (Angle=0°) otherwise there would have been to much going on. So far so good...we have a decent background already, you can
always spice them up more with adding other photos or parts of
photos on top, and adding foreground layers, with "grunge
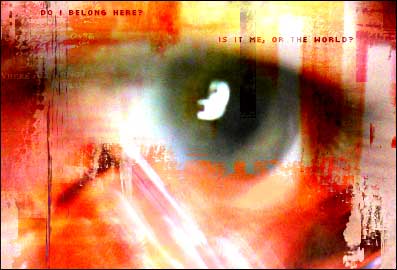
borders". In the end you can come up with something like the following
(piece of Freak!).
|